From Seed to Summer Harvest: Your Guide to Homegrown Tomatoes
There’s an unparalleled joy in biting into a sun-ripened tomato, still warm from your garden, its flavor bursting with sweetness and acidity – a stark contrast to its store-bought counterpart. It’s akin to comparing a luxurious cashmere throw to a scratchy airplane blanket. Cultivating these summer gems from scratch provides not only a superior taste experience but also immense satisfaction and a deeper connection to your food. If you've ever wondered
how to grow tomatoes from seed, you've come to the right place. This comprehensive guide will walk you through every step, transforming tiny seeds into a bountiful harvest.
Laying the Groundwork: Planning Your Tomato Patch
Before you even think about getting your hands dirty, some crucial planning will set the stage for success. Understanding your local climate and choosing the right varieties are foundational steps.
Know Your Last Frost Date
The single most critical piece of information for any gardener, especially when starting seeds indoors, is your average last frost date. This date signifies the average time in spring when the risk of freezing temperatures has passed. Once you pinpoint this date for your region (a quick online search with your zip code will usually provide it), you can work backward to time your indoor seed starting perfectly. Garden experts, like Charlie Nardozzi, recommend starting your tomato seeds indoors approximately four to six weeks before this date. This gives your seedlings enough time to develop robust root systems and sturdy stems, preparing them for the transition outdoors. For a deeper dive into timing, check out our article
Timing is Key: Start Tomato Seeds 5 Weeks Before Last Frost.
Choosing Your Tomato Varieties
The world of tomatoes is vast and exciting! From tiny, sweet cherries to hefty beefsteaks, the options are endless. When you learn
how to grow tomatoes from seed, you unlock a universe of unique varieties unavailable in most garden centers.
*
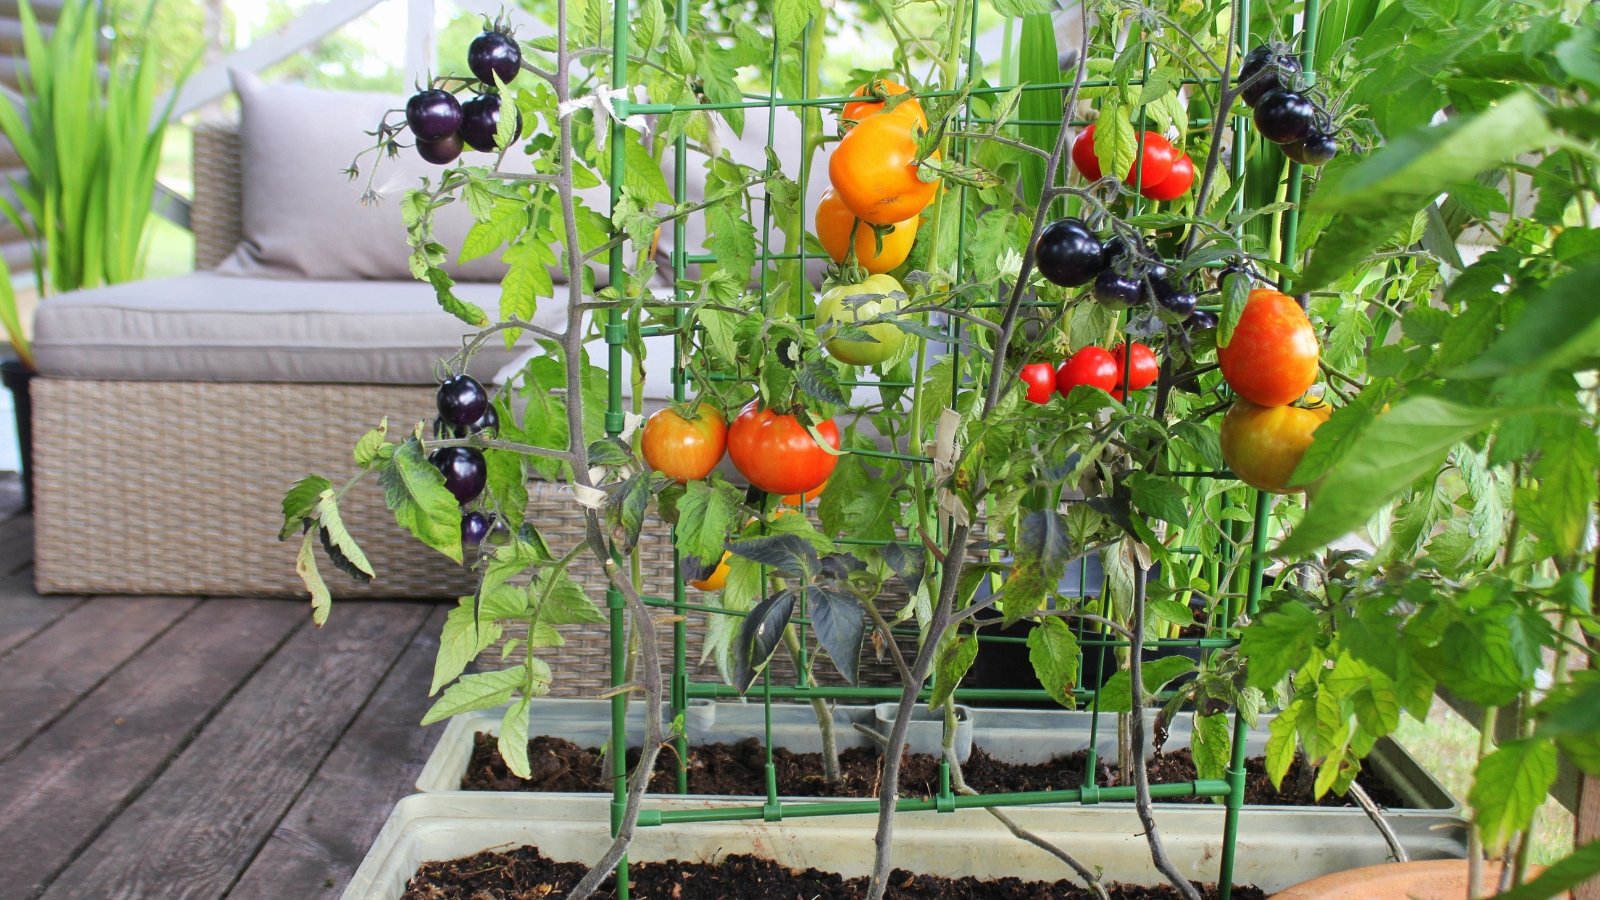
Heirloom Treasures: Many gardeners, including Nardozzi, adore heirloom varieties like Persimmon, Tasmanian Chocolate, or Speckled Roman for their vivid colors, unique shapes, and complex flavors. They offer a taste of history and unparalleled culinary experiences.
*
Classic Favorites: Don't overlook the reliable appeal of classic cherry tomatoes (perfect for snacking) or large, juicy beefsteak varieties (ideal for slicing).
*
Determinate vs. Indeterminate: This choice often comes down to your available space and desired harvest pattern.
*
Determinate Varieties: These "bush" tomatoes grow to a specific height (usually 2-3 feet) and produce the majority of their fruit within a concentrated period. They are excellent for smaller gardens, containers, or if you plan to can or sauce a large batch at once.
*
Indeterminate Varieties: Often called "vining" tomatoes, these plants continue to grow and produce fruit throughout the entire growing season until frost. They require more extensive staking or caging due to their continuous growth but reward you with a steady supply of fresh tomatoes.
Consider your culinary preferences and garden space when making your selections.
Sourcing Your Seeds
You can either purchase high-quality seeds from reputable seed companies, local nurseries, or even dedicated seed exchange sites. Alternatively, if you have a favorite heirloom tomato, you can save seeds from a ripe fruit – just be aware that hybrid varieties won't grow true to type from saved seeds.
Mastering the Art of Seed Starting Indoors
This is where the magic begins – nurturing tiny seeds into thriving young plants. Successful indoor starting is key to a robust outdoor harvest.
Gather Your Supplies
Before sowing, ensure you have the following:
*
Seed Starting Mix: A sterile, fine-textured mix designed for seedlings. Avoid heavy garden soil.
*
Seed Starting Trays or Pots: Biodegradable cow pots (2x2 inches) are excellent as they can be planted directly into the ground, minimizing root disturbance. Alternatively, use plastic trays with drainage holes.
*
Labels: Essential for keeping track of your varieties!
*
Watering Can or Spray Bottle: For gentle, consistent moisture.
*
Heating Mat (Optional but Recommended): A seedling heat mat placed under your pots can significantly speed up germination by providing consistent bottom warmth.
*
Grow Lights (Highly Recommended): Natural sunlight through a window is rarely enough to prevent leggy, weak seedlings. Invest in full-spectrum grow lights, positioning them just a few inches above the seedlings.
Sowing Your Seeds
Around five to six weeks before your last frost date, it's time to sow!
1.
Prepare Pots: Fill your 2x2 inch pots or trays with moist seed starting mix, gently tamping it down.
2.
Planting Depth: Make a small depression in the center of each pot, about ¼ inch deep.
3.
Sow Seeds: Place 1-2 seeds in each depression. If you're using individual pots, planting two gives you a backup.
4.
Cover and Water: Lightly cover the seeds with more seed starting mix and gently water. A spray bottle works well to avoid displacing the tiny seeds.
5.
Provide Warmth: Place your pots in a warm indoor location, ideally between 70-85°F. If you have a heating mat, this is its prime use.
6.
Ensure Light: Once sprouts emerge, immediately provide plenty of light. Position grow lights just 2-4 inches above the seedlings for 12-16 hours a day. Rotate pots regularly if using natural light to prevent leaning.
Caring for Young Seedlings
Consistent care in the early stages makes a huge difference:
*
Watering: Keep the soil consistently moist but never soggy. Overwatering can lead to "damping-off," a fungal disease that kills young seedlings. Consider bottom watering by placing pots in a tray of water for 15-20 minutes, allowing them to soak up moisture from below.
*
Thinning: Once your seedlings develop their first "true leaves" (the second set of leaves, which look different from the initial "cotyledon" leaves) and resemble a small "y" shape, it's time to thin. Choose the strongest, healthiest sprout and snip the weaker one at ground level with small scissors. Pulling can disturb the roots of the remaining seedling. This step ensures the surviving plant has ample resources to thrive.
*
Repotting (Potting Up): When your remaining seedling reaches about three times the height of its original pot (roughly 6 inches), it's ready for a larger container. Gently transplant it into a pot one size larger (e.g., a 4-inch pot). Bury the stem deeper than it was in the smaller pot – tomatoes are unique in that they can grow roots directly from their buried stems, leading to a stronger root system.
For more detailed guidance on nurturing your seedlings to robust plants, consult
Grow Better Tomatoes: Expert Guide to Seed Starting Success.
Hardening Off: The Crucial Transition to Outdoors
Moving your delicate indoor-grown seedlings directly into the harsh outdoor environment is a recipe for disaster. They need to gradually acclimate to cooler temperatures, direct sunlight, and wind – a process called "hardening off."
Begin hardening off about 7-10 days before you plan to plant them in the ground.
*
Day 1-2: Place seedlings in a sheltered, shady spot outdoors for a few hours.
*
Day 3-4: Move them to a spot with partial sun for a few more hours, still bringing them in at night.
*
Day 5-7: Gradually increase their exposure to direct sunlight and wind each day, leaving them out for longer periods.
*
Last Few Days: If nighttime temperatures are consistently above 50°F, you can leave them out overnight.
This gradual introduction strengthens their cell walls and prepares them for the rigors of the garden.
Transplanting and Ongoing Care for a Bountiful Harvest
Once your plants are hardened off and the nighttime temperatures consistently stay above 50°F (usually late spring), it's time to plant them in their final outdoor location.
*
Choose Your Spot: Tomatoes are sun worshippers, requiring at least 6-8 hours of direct sunlight daily. Ensure the soil is well-draining and rich in organic matter.
*
Planting: Dig a hole deep enough to bury a significant portion of the tomato stem (again, deeper planting encourages more root growth). Space plants according to their variety's mature size (usually 2-3 feet apart for determinate, 3-4 feet for indeterminate).
*
Support: Provide immediate support for indeterminate varieties with stakes, cages, or trellises to prevent sprawling and disease. Determinate varieties may also benefit from some support.
*
Watering: Water deeply and consistently, especially during dry spells and when fruits are forming. Inconsistent watering can lead to problems like blossom end rot.
*
Fertilizing: Use a balanced fertilizer initially, then switch to one higher in phosphorus and potassium once flowering begins to encourage fruit production.
*
Pollination: While tomatoes are self-pollinating, gentle shaking of the plants or a light breeze helps distribute pollen, ensuring good fruit set.
With a little patience and consistent care, your homegrown tomatoes will be a highlight of your summer garden.
Conclusion
Learning
how to grow tomatoes from seed is an incredibly rewarding journey that elevates your gardening experience and your culinary creations. From the careful timing of your indoor sowing to the meticulous care of young seedlings and the final transplant into the summer sun, each step contributes to the unparalleled flavor of a garden-fresh tomato. Embrace the process, savor the anticipation, and prepare for a season filled with the rich, vibrant taste of your very own homegrown harvest. There's truly nothing quite like it.